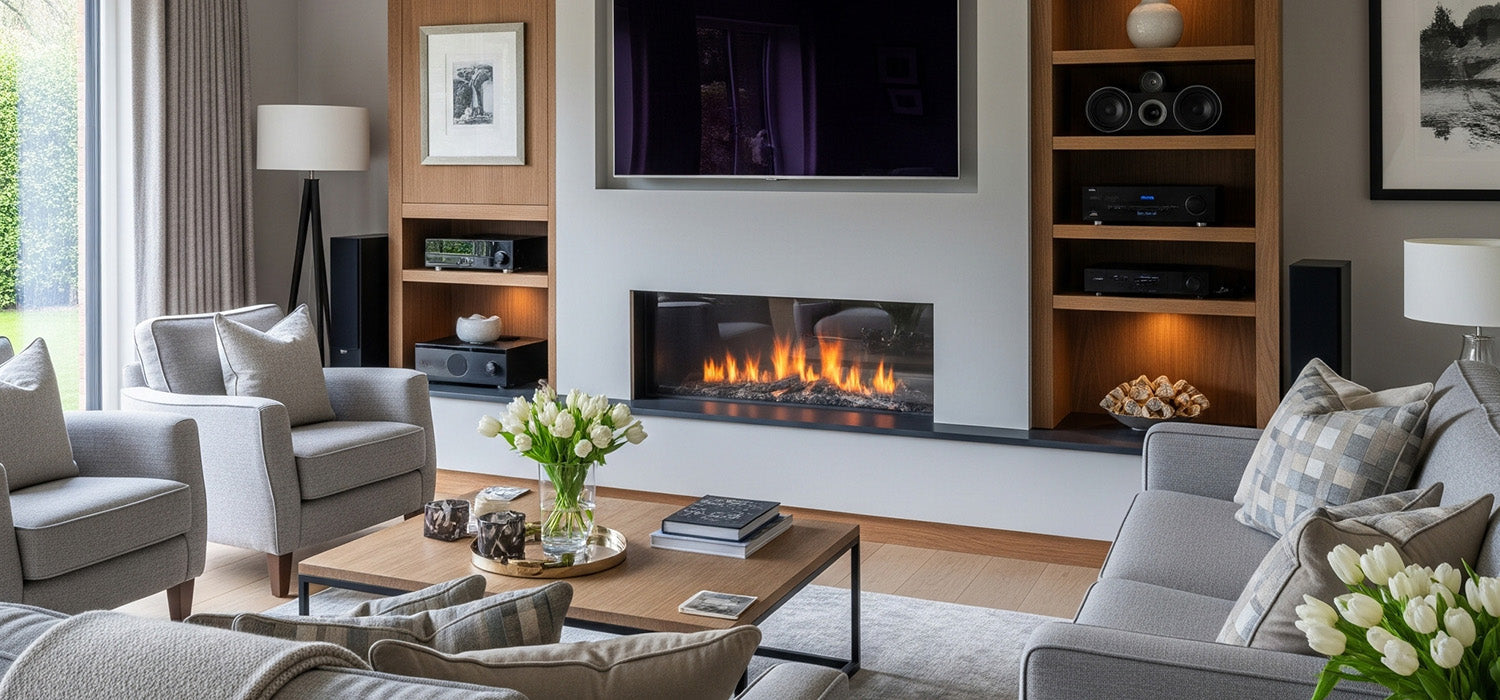
How to Build a Stylish Media Wall with TV & Fireplace
Want Netflix nights with cinema vibes? Build a media wall—frame it, mount it, wire it, and add that wow-factor Media Wall Fire for cosy drama. It’s easier than you think! From measuring to styling, we’ve got the steps, tips, and fails to dodge. Keep reading—your dream setup awaits.
Planning Your Media Wall: The Foundation of Success
Designing your own media wall? Brilliant idea. It’s the perfect blend of style and substance—a place for your tech, your telly, and even that Media Wall Fire you've had your eye on.
Before you start drilling holes, let’s set the groundwork.
Defining Your Vision and Needs
Desired Functionality (TV size, storage, fireplace integration)
Start with the basics. What are you building this wall for?
Is it to showcase your 65" flat screen? Do you need space for a soundbar, Sky box, and secret snack drawer? Planning to install a built-in electric fireplace for cosy nights?
Jot it all down. Your dream setup needs a clear purpose before it can come to life.
Aesthetic Style and Room Cohesion
Now, let’s talk style. Your media wall should look like it belongs in the room—not like it crashed the party.
Modern and minimal? Rustic with timber finishes? Scandi-cool? Think about your existing decor, lighting, and colour palette. Your media wall is the new centrepiece—make it earn that title.
Measuring and Designing Your Unit
Wall Dimensions and Obstacles (radiators, windows, doors)
Grab a tape measure and go wall-to-wall. Note the full width, height, and depth.
Now check for obstacles: radiators, plugs, window frames or awkward corners. You don’t want to sketch your dream layout only to realise your TV sits over the light switch.
Creating Detailed Plans (sketches, 3D models)
Get your ideas down—on paper or digital. Even a quick sketch helps.
There are apps like SketchUp or Roomstyler that make planning easy. Whether you doodle or go full 3D model, just make sure you can see what you’re building before you start.
Selecting the Right Materials
Framing Materials (timber, metal studs)
Timber is classic and easy to work with—great for DIYers. Metal studs? They’re lightweight and fire-resistant, ideal if you’re building around a Media Wall Fire.
Pick what suits your space, skill level, and the weight you’re planning to hold.
Facing Materials (MDF, plasterboard, plywood)
For clean finishes and paint-ready surfaces, MDF and plasterboard are your best mates.
Plywood’s perfect if you want extra strength or are planning to mount heavy kit. Choose wisely based on the finish you want.
Finishing Materials (paint, veneer, trim)
Here’s where the magic happens. Satin paint? Wood veneer? LED-lit trim? Your finishes turn a boxy frame into a sleek feature wall. Don’t skimp here—it’s what you’ll stare at every night.
Gathering Your Tools and Supplies
Essential Hand Tools
Tape measure, spirit level, pencil, stud finder, and a sharp utility knife. Basic, but essential.
Power Tools (saw, drill, sander)
You’ll need a circular saw or mitre saw, cordless drill, and an electric sander. A jigsaw’s a handy bonus for curved features or cut-outs.
Safety Equipment
Don’t forget goggles, gloves, dust mask and ear protection. You might feel a bit over-prepared—but your eyes and lungs will thank you.
Step-by-Step Construction of Your Media Wall Frame
Preparing the Area
Clearing the Space and Protecting Surfaces
Move the furniture. Lay down dust sheets. Tape off skirting boards if needed.
It might feel tedious, but keeping things tidy from the start saves hours of cleanup later.
Locating Wall Studs and Utilities
Grab your stud finder and mark out where you’ll anchor your frame.
Also check for wires or pipes—because accidentally drilling into the mains is a memory you don’t want.
Building the Base and Side Supports
Constructing a Level and Sturdy Plinth
Build your base first. It’s the foundation of your entire structure.
Use treated timber, make sure it’s level, and screw it directly into the floor or wall frame.
Attaching Vertical Framework to Wall Studs
Once your base is solid, build upwards. Secure vertical studs at regular intervals, and double-check alignment.
Use longer screws into wall studs for max support—especially where your TV or Media Wall Fire will sit.
Creating the TV Recess and Shelving Structures
Framing the TV Opening (ensuring adequate clearance)
Measure your TV—and then give it breathing space.
Leave at least 5 cm all round for airflow and cable access. You’ll appreciate the wiggle room later when you're connecting things.
Building Internal Shelving and Niche Frameworks
Add shelves, cubbies, or side niches for speakers, consoles or decor.
Just keep symmetry in mind—it makes the whole thing feel balanced and professional.
Integrating for Fireplace (if applicable)
Ensuring Proper Clearances and Ventilation
Every Media Wall Fire comes with safety clearance guidelines—follow them.
Ensure airflow at the top and sides. Overheating is no joke.
Creating a Safe and Stable Hearth Area
If your fireplace sits near the floor, build a hearth area with fire-safe materials. Tile, stone, or heat-resistant panel boards all work well.
Finishing and Detailing Your Media Wall
Applying the Facing Material
Cutting and Securing Plasterboard or MDF Sheets
Measure, cut, and screw sheets to your frame. Don’t rush—clean cuts make clean lines.
Taping and Jointing (for plasterboard) or Filling Gaps (for MDF)
Use joint tape and filler for plasterboard seams. With MDF, wood filler does the trick. Sand everything until it’s as smooth as your plans.
Plastering or Skimming (if applicable)
Preparing Surfaces for Plaster
Dust it off. Apply bonding agent if needed.
Applying Plaster for a Smooth Finish
Two coats is usually enough. Let each dry fully, then sand to perfection. Your finish should be silky smooth and ready for paint.
Electrical and Cable Management
Routing Cables for TV, Soundbar, and Devices
Plan your cable routes before the boards go up. Use conduit or trunking to keep wires tidy and out of sight.
Installing Sockets and Switches
Add sockets behind the TV and in shelves. Consider USB points for modern gadgets. A smart layout now means fewer trailing cables later.
Planning for Ventilation of Electronics
Electronics get hot—especially if you’re running consoles, a sound system, and a Media Wall Fire.
Leave small air vents or gaps behind closed panels to keep air moving.
Painting and Decoration
Preparing Surfaces (sanding, priming)
Give it all a final sand. Apply a primer coat to seal MDF or plaster.
Applying Paint or Chosen Finish
Choose a colour that fits your space. Go bold, or stick to clean neutrals. Add wallpaper, LED strips, or panelling to dial up the drama.
Installing TV Mount and Accessories
Securely Mounting the TV Bracket
Screw the mount directly into reinforced studs. Triple-check the height and level before tightening.
Adding Shelves, Doors, and Trim
Now fit doors, shelves, and finishing trim. Soft-close hinges and clean mitres give it that built-in, high-end look.
Important Considerations for a Professional Finish
Achieving Level and Square Lines
Use a laser level throughout. It’s your best friend for perfect symmetry—don’t rely on eyesight alone.
Dealing with Imperfections and Gaps
Even pros get gaps. A bit of decorator’s caulk and careful sanding can work miracles.
Ensuring Safety and Stability
Do a shake test. If anything wobbles, reinforce it. Make sure all brackets, shelves, and fixings are solid.
Maintaining Your New Media Wall
Once built, don’t forget the upkeep.
Dust weekly—especially around electronics. Wipe wooden or painted surfaces gently. Check cables every few months, and make sure everything’s still tight and stable.
And if you’ve added a Media Wall Fire, give it a clean and check the vents regularly. A little love goes a long way.
Other content we think you'll love
- Can I Build a Media Wall Myself? A DIY Guide for UK Homes
- Can You Build a Media Wall Over a Radiator? A Stylish Guide
- Can You Build a Media Wall on Carpet? Tips for a Stable Setup
- Can You Build a Media Wall Around a Fireplace? A Cosy & Stylish Upgrade
- How to Build a Media Wall on a Chimney Breast (UK Guide)
- Can You Build a Media Wall in a Council House? A Practical Guide
- The Ultimate Guide to Buying a Pre-Made Media Wall in the UK
- How to Attach Plasterboard to a Media Wall: A Step-by-Step Guide
- How Deep Should Your Media Wall Be? A Guide to Perfect Fit & Function
- Are Media Wall Fires Safe? What Every UK Homeowner Should Know
- Can You Build a Media Wall Without Plastering?
- How is a Media Wall Built? A Step-by-Step DIY Guide
- MDF vs Plasterboard for Media Walls: Which Should You Choose?
- What Are the Disadvantages of Media Walls? A Cautionary Guide
- What is a Media Wall? The Ultimate Living Room Glow-Up