Media Wall Access Panels: Why You Shouldn’t Skip This Clever Feature
Tired of wrestling with wires behind your TV or Media Wall Fire? A media wall access panel is your secret trapdoor to a sleek, clutter-free setup. Short answer: it hides your tech, looks stylish, and keeps things cool (literally). Read on for tips, tricks, and panel-perfect design ideas!
Why You’ll Thank Yourself for Adding an Access Panel
Let’s face it, tech rarely stays the same for long. One minute your setup feels cutting-edge, the next you’re wondering how to fit a new soundbar or replace a dodgy cable. Without an access panel, even the smallest tweak can turn into a major headache.
We’ve heard stories of homeowners needing to cut into their plasterboard just to reach a loose HDMI lead. Others regret not adding one during the initial build because their beautifully built media wall now hides a wiring nightmare.
An access panel solves all that. It gives you the freedom to upgrade, repair or reroute your tech anytime—without damaging your setup.
It’s Not Just About Access – It’s About Design
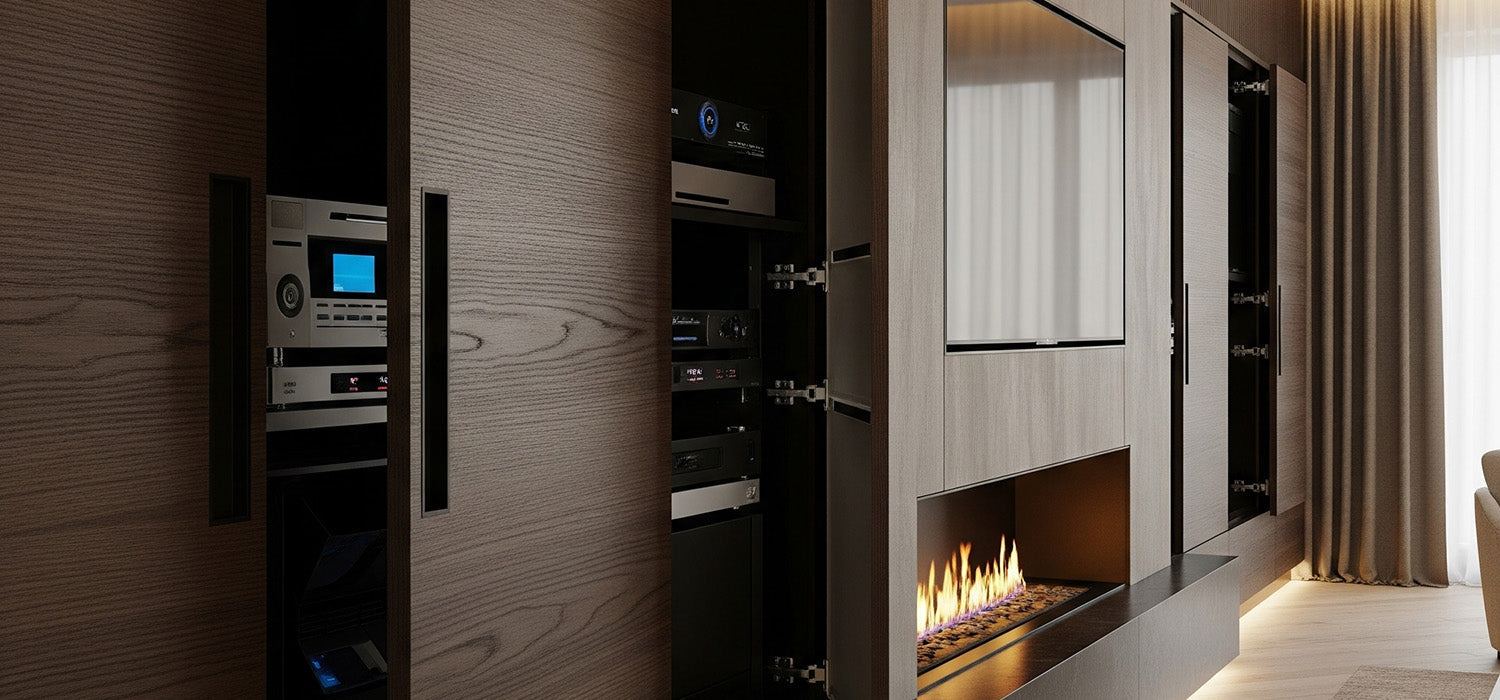
Some people hear “access panel” and picture an ugly white plastic square in the middle of the wall. But times have changed.
Today’s access panels are made to blend in beautifully. You’ll find designs that sit flush with the wall, disappear under plaster, or even open with a magnetic click—no visible handles, no fuss. It’s smart design for smart homes.
You can even customise them with the same finish as your wall—whether that’s paint, timber cladding or wallpaper.
Different Types for Different Needs
Flush-Fit Panels
These sit neatly in the surface of the wall, offering a clean, simple look. They’re ideal if you want discreet access and don’t mind a visible outline.
Recessed Panels with Plaster Bead Frames
For those going full minimalist, recessed panels can be plastered over and painted to match your walls. Once done, they’re virtually invisible to the eye. Perfect for modern lounges or open-plan spaces where every detail matters.
Swing-Out or Hinged Panels
If you need to get to your equipment often—maybe you’re a gamer or AV enthusiast—then a swing-out panel makes life easier. Just pull it open like a cupboard door and access everything inside.
DIY Concealed Panels
Some homeowners get creative. We’ve seen slatted timber panels that lift away, artwork that doubles as a door, and even faux bookshelf panels hiding routers and extension leads. If you like a bit of hands-on flair, there’s room to get inventive.
The Best Places to Install Your Access Panel
Behind the TV
This one’s a no-brainer. Mounting your access panel behind the TV means you can quickly get to cables, sockets or wall brackets if something needs adjusting. Just make sure the panel opens sideways or downwards to avoid interference.
On the Side of a Stud Wall
If your media wall has a chimney-style build-out or framing, placing your access panel on the side keeps things discreet. It’s especially useful if you’re running power to devices or installing lighting strips.
Inside Cabinetry or an Alcove
Got built-in shelves or a low-level unit? That’s the perfect place to hide your panel. You can disguise it inside a cupboard or drawer base—neatly tucked away but easy to reach when needed.
Installing an Access Panel: Easier Than You Might Think
You don’t need to be a professional to fit one. If you’re handy with basic tools and happy to do a bit of measuring, it’s absolutely doable.
Start by planning the size and location. Use a stud finder to avoid hitting anything behind the wall, then trace your panel’s outline and cut the opening carefully. For plasterable panels, leave space for a neat skim finish.
Fix the frame in place, test that everything opens smoothly, then apply any finishing touches—paint, filler or cladding—so it disappears into the wall.
If you’re unsure about structure or cable paths, getting a tradesperson in can save a lot of stress. Many homeowners opt for professional installation to make sure it's secure and integrated properly.
Maintenance: Keep It Working, Keep It Looking Good
A well-installed access panel won’t need much upkeep—but don’t forget it’s there.
Check hinges or catches every now and then. Make sure dust isn’t building up inside (especially around electronics), and give the panel a quick wipe during your regular cleaning routine.
If it’s a plastered finish, be gentle when cleaning to avoid damaging the surface. Magnetic panels might need a quick test now and then to ensure the catch hasn’t loosened.
Costs: What Should You Expect?
Access panels aren’t expensive compared to the headache of fixing your wall down the line.
Basic plastic panels can cost as little as £20–£40. Mid-range plasterable options tend to land between £60–£150. If you’re going high-end or fully custom, you might pay £200 or more—but the benefit to design and function can be well worth it.
Add around £100–£300 if you’re hiring a tradesperson for the install, depending on complexity.
Final Tip: Don’t Treat It as an Afterthought
The access panel is often one of the last things people think about when designing a media wall. But once the wall is built and the paint’s dry, it’s the one feature you’ll wish you’d included.
Whether you're mounting a 75" telly, hiding a Media Wall Fire, or wiring in a cinema-grade sound system—access is essential. It’s not just about convenience. It’s about peace of mind.
Add it early, design it smart, and your media wall will thank you for years to come.
Other content we think you'll love
- Media Wall Accessories: Style, Function and Wow Factor
- Media Wall Accessories Ideas: How to Style Your Space with Flair
- Media Wall Acoustic Panels: Enhance Sound & Style at Home
- Creative Media Wall Alcove Ideas for Stylish, Functional Homes
- Media Wall Alcove Ideas: Stylish Designs That Maximise Space
- Media Wall Back Panels: Stylish Ideas to Elevate Your Space
- Media Wall Boards: The Complete Guide to Strong, Safe Builds
- Media Wall Box: The Secret to a Sleek, Cable-Free Setup
- Built-In Media Walls: Transform Your Living Room with Style and Function