How to Fit a Log Burner (Without Setting Off the Smoke Alarm)
Thinking of swapping your radiator for roaring flames and rustic vibes? Fitting a log burner isn’t quite just lighting a match—but it’s doable (with help).
Short answer: you can do parts yourself, but a pro must handle the flue.
Want tips, rules, and what log burner to buy? Keep reading.
Planning Your Log Burner Installation: Key Considerations
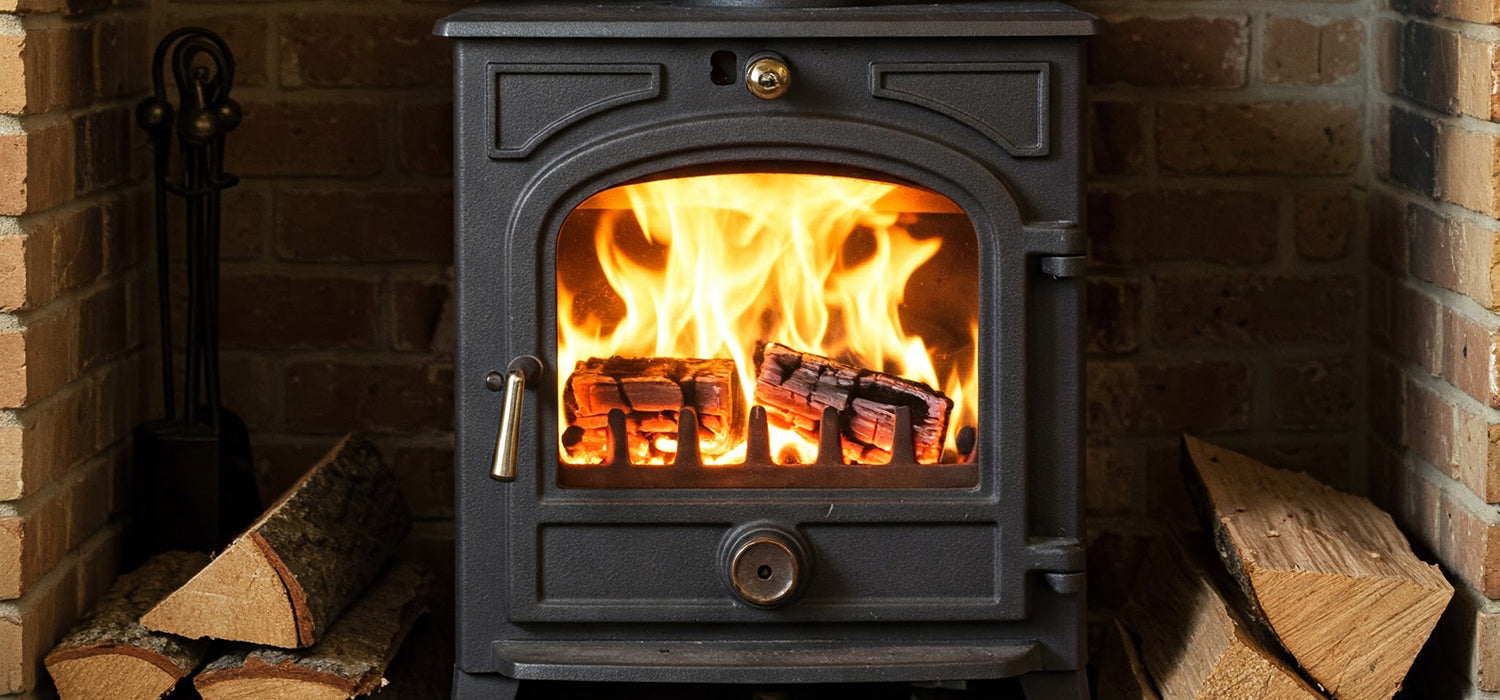
There’s something irresistible about a real fire. The glow, the crackle, the fact you finally have an excuse to say "throw another log on."
But before you get carried away, there’s some planning to do—unless you fancy upsetting your local council or melting your skirting boards.
Let’s break down what you need to think about before that first match is struck.
Building Regulations and Compliance
In the UK, your log burner installation must meet Building Regulations Part J.
This isn’t a tick-box exercise—it’s about safety. Your burner, flue, and hearth all need to be compliant.
If you’re not using a HETAS-registered installer, your local council’s building control officer will need to inspect and sign everything off.
No sign-off = no certificate = headaches when you sell.
Chimney Inspection and Suitability
Got an existing chimney? Brilliant start. But don’t assume it’s fit for purpose.
Over time, chimneys can develop cracks or blockages. Birds love nesting in them, and old mortar can crumble away.
A proper inspection will tell you if you need a flexible flue liner, which most older chimneys do.
No chimney at all? Not a dealbreaker. You’ll just need a twin-wall flue system, which vents smoke safely through an external wall or roof.
Hearth Requirements and Dimensions
Your log burner needs a solid, non-combustible base to sit on—this is your hearth.
If your stove doesn't heat the floor underneath above 100°C, the hearth must be at least 12mm thick.
It also needs to extend 300mm in front of the stove door and 150mm on each side.
Materials like slate, stone, or concrete work best. And let’s be honest, a good hearth also looks the part.
Ventilation Requirements
Unlike your dog, a stove can’t open the window when it gets stuffy.
It needs proper airflow to burn well and safely.
If your stove is rated above 5kW, you’ll need an air vent or air brick in the room to let oxygen in.
No airflow means poor combustion—and possibly a room full of smoke.
This is especially important in modern, airtight homes with sealed windows and thick insulation.
Distance to Combustible Materials (Crucial for Safety)
We love the rustic look—but rustic wooden beams + high heat = bad news.
Stoves must be installed with safe clearance from anything that could catch fire. That includes furniture, curtains, wall panels, and even the wallpaper.
Minimum side clearance is usually 150mm, but always check your stove’s manual—it varies.
Heat shields can help reduce the required distance, but safety should always come first.
Step-by-Step Guide to Fitting a Log Burner
Right, so now the planning is sorted—let’s talk about how to actually fit the thing.
Remember: unless you’re qualified, some steps must be done by a HETAS-registered installer. But you can handle parts of the prep.
Preparing the Hearth
First things first: lay your hearth.
If you’re replacing an old fireplace, clear out any debris and get the area clean.
Make sure the floor underneath is solid, and use a spirit level to check it’s even.
If you’re starting from scratch, materials like slate or concrete are ideal—and they’ll last for decades.
Installing the Flue System (Liner vs. No Liner)
Next up: flue decisions.
If your chimney’s in good nick, you may just need a flexible liner.
This helps prevent tar and soot building up, and improves draw (that’s the chimney’s suction power).
If there’s no chimney, your installer will need to fit a twin-wall insulated flue system that exits through the wall or roof.
This step is absolutely not DIY territory—get a pro in.
Positioning and Securing the Log Burner
With your hearth ready and flue sorted, it’s time to place the stove.
It needs to sit squarely on the hearth, with clearances measured and respected.
Adjust the feet, if needed, and make sure it’s level—no one wants a lopsided fire.
Check where the flue pipe will connect. A good installer will make this look seamless.
Connecting the Flue Pipe to the Burner and Chimney
The flue pipe links your stove to the chimney or flue liner.
This involves some elbow grease, a bit of fire cement, and some technical know-how. Every joint needs to be sealed properly to avoid leaks.
You might not see smoke escaping—but carbon monoxide doesn’t give warnings.
This step should be done by someone who knows their way around regs and sealants.
Installing a Carbon Monoxide Alarm
Once the stove’s in place, don’t forget one of the most important bits—the carbon monoxide alarm.
Legally required in the UK, this device should be placed 1 to 3 metres away from your stove, but not directly above it.
It’s cheap, easy to install, and could save your life. Enough said.
Commissioning Your Log Burner and First Burn
You’re nearly there!
Your installer will carry out a smoke test to check the flue system is sealed and pulling properly.
They’ll also give you a certificate of compliance—keep it safe, you’ll need it if you ever sell the house.
Then it’s time for your first burn.
Start small. A gentle, low fire for an hour or two helps the paint and seals cure. It might smell a bit odd at first—that’s totally normal.
Keep a window cracked, and don’t throw on the big logs just yet.
Once that’s done, it’s all yours. Get in some seasoned hardwood (under 20% moisture), grab a blanket, and enjoy.
When to Hire a Professional Installer (HETAS Registered)
Here’s the golden rule: if in doubt, get it done by a pro.
You can build the hearth, prep the area, even position the stove—but the flue work, smoke tests, and certification must be done by a HETAS-registered installer or building control.
Without it, your installation isn’t legal—or insurable.
Hiring a professional means peace of mind, better efficiency, and a safer home.
Plus, they know all the little tricks that’ll make your stove run like a dream.
Other content we think you'll love
- What Log Burner Do I Need? The Cosy Homeowner’s Guide
- What Log Burner to Buy: The Cosy Homeowner's Guide
- How to Remove a Wood Stove: A Step-by-Step Guide
- What Size Log Burner Do I Need? A Simple Guide to Finding the Perfect Fit
- Where to Put a Log Burner: Finding the Perfect Spot for Warmth and Style
- Can You Take a Log Burner When You Move? Here's What You Need to Know
- How to Fit a Wood Burner in a Conservatory
- Log Burner for New Build: What You Need to Know Before You Install One
- Installing a Log Burner Near a Gas Pipe: What You Need to Know
- Log Burner Near Curtains: How Close Is Too Close – And How to Stay Safe
- Can You Use a Log Burner Without a Liner?
- Can You Have a Log Burner with Underfloor Heating?
- Log Burner Distance from Combustibles: Stay Safe and Warm