How to Paint a Media Wall Like a Pro: Step-by-Step DIY Guide
The best way to paint a media wall? Prep like a pro, pick the right paint, and don’t rush it—especially near your Media Wall Fire! Want smooth finishes, no streaks, and show-stopping style? Keep reading for clever tips, expert tricks, and the mistakes even DIY legends still make.
Why Paint Matters So Much for a Media Wall
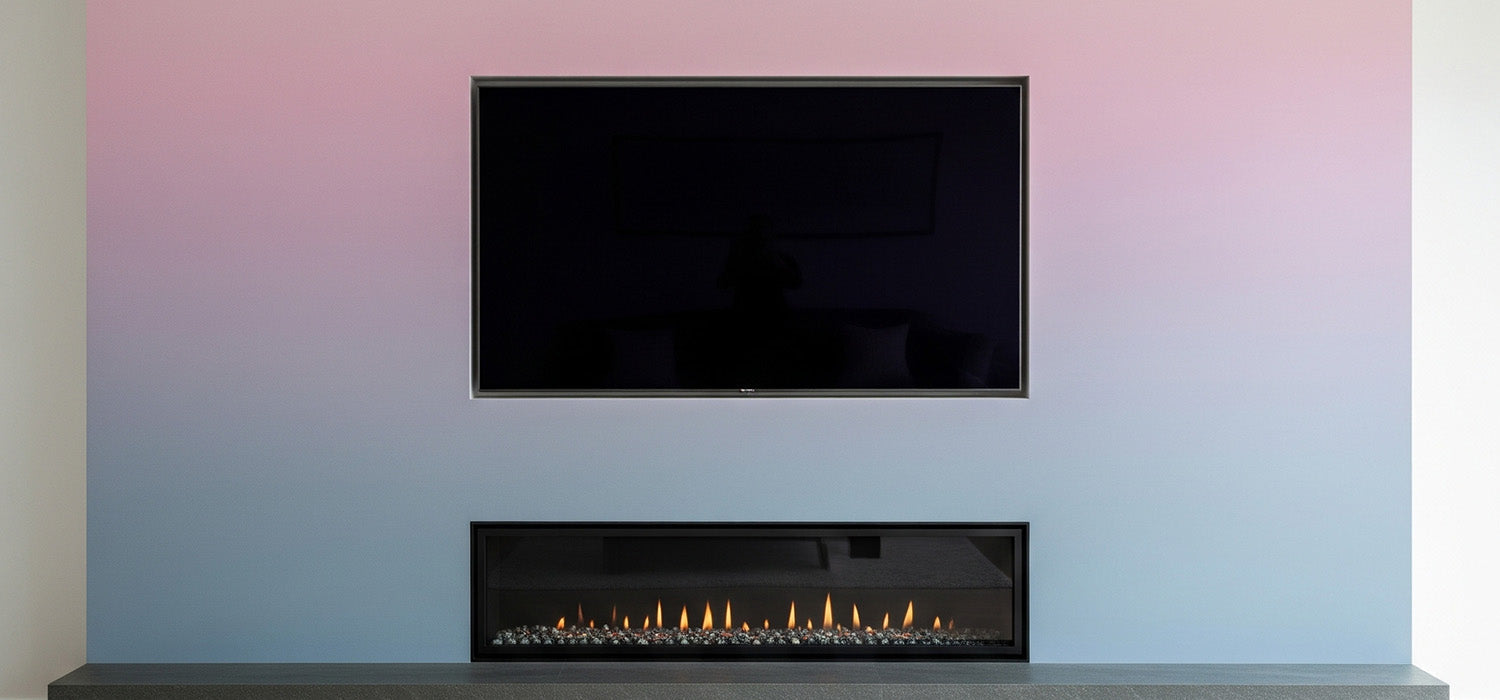
A media wall is more than just a home for your telly.
It’s the backdrop to your evenings in, your Netflix marathons, your Sunday football. It sets the tone for the entire room.
Choosing the right paint, finish, and colour isn’t just about looks—it’s about function too. The wrong paint can reflect light awkwardly or show every fingerprint.
The right paint, though? It elevates your space and makes your media setup feel intentional.
Choosing Your Paint Finish: What Works and Why
Not all paint finishes are created equal—especially when a telly is involved.
Matte is the go-to for avoiding screen glare. It’s velvety, stylish, but does mark a little easier.
Eggshell gives you a bit of sheen while being more wipeable.
Satin is a tougher finish with a soft shine, ideal if your media wall gets a lot of action—think kids, pets, or movie nights with snacks.
Think about how much cleaning the area will need, and how much light your room gets. A glossy finish in a sunny room? You’ll spot every smudge.
Let’s Talk Colour: Light, Dark, or Statement Bold?
Now for the fun part—colour.
Dark shades like deep navy, graphite, or charcoal are brilliant for making a screen disappear when it’s off. Cosy, cinematic, and perfect for movie nights.
Light tones—off-white, misty greys, sage green—keep things airy and make a room feel bigger. They work well if your wall has shelving or built-in lighting.
Want to go bold? A burnt orange or forest green can make the wall a true feature—just balance it out with neutrals elsewhere so it doesn’t overpower the room.
Pro tip: Test swatches on the actual wall. What looks grey in the shop might look blue at home.
Prep Like a Professional (Because It Shows)
Here’s where a lot of people go wrong—they rush the prep. But proper preparation makes all the difference between “meh” and “wow”.
Start by clearing the area and covering your telly, units, or anything else that can’t move. Use painter’s tape around sockets and skirting boards.
Then give the wall a good clean with mild detergent and water. Dust, grease and old cobwebs can stop the paint sticking properly.
If you’ve got dents or holes, fill them and sand smooth. Feel with your hand—if it’s not baby-soft, keep sanding.
Priming: Not Optional (Even Though It’s Boring)
You might be tempted to skip primer. Don’t.
Primer gives your wall an even surface, helps your paint stick better, and improves colour depth. It’s especially important if your wall is MDF, newly plastered, or previously a dark colour.
Use a roller for broad areas and a brush for edges. Let it dry fully—usually an hour or two—before moving on.
Brushes, Rollers, and Gear That Actually Make a Difference
Quality tools make the job smoother—literally.
Use a high-quality angled brush for cutting in and corners. For rolling, choose a microfibre roller for that even, streak-free finish.
Other must-haves:
-
Drop cloths
-
Paint trays
-
Painter’s tape
-
Sandpaper (medium and fine grit)
-
Extension pole (if the wall’s tall)
Trust us—cheap rollers leave fuzz in your paint, and you'll regret it halfway through the second coat.
The Painting Process: Easy Does It
Start by cutting in the edges with your brush. Nice and slow—this is your outline.
Then roll the paint on in a “W” or “M” shape. This helps spread the paint evenly. Don’t overload your roller, and always keep a “wet edge” to avoid streaks.
Let the first coat dry completely before the next one—usually around 2–4 hours, depending on the paint.
You’ll likely need two coats. Darker colours may need three. Be patient—it’s worth it.
Different Surfaces Need Different Treatment
If your media wall is made of MDF, it needs sealing before painting. Otherwise, it’ll soak up your paint like a sponge.
Plasterboard? Same deal—use a good primer first. It prevents patchy finishes and helps colour go on evenly.
Painting over old gloss? Give it a light sand first to help the new paint grip.
Common Mistakes That Ruin a Good Job
We’ve all seen it—a streaky wall, bits of tape peeled up too soon, or thick, gloopy brush marks.
Avoid these rookie errors:
-
Skipping primer
-
Using cheap brushes
-
Painting too thick
-
Rushing the drying time
-
Pulling off tape before the paint’s dry
Also, watch the weather. High humidity or heat can mess with drying and leave your wall looking uneven.
Caring for Your Painted Media Wall
Once it’s dry, let it cure properly—ideally 48 hours before hanging pictures, TV brackets or shelves.
Clean it gently with a soft cloth and mild cleaner. No harsh sprays or scrubbers.
Over time, touch up any scuffs with leftover paint. And consider repainting every 3–5 years if it starts to look tired.
Final Thoughts: Make Your Media Wall a Showstopper
Painting your media wall isn’t just another decorating job—it’s your chance to create a space that reflects your style and how you live.
Take your time. Pick colours you love. Use good tools and prep well.
You’ll end up with a media wall that looks brilliant, works with your screen setup, and makes your room feel just that little bit more pulled together.
So go on—grab that roller. You’ve got this.
Other content we think you'll love
- How to Design a Media Wall That Works and Wows
- What Can You Put in a Media Wall? The Ultimate Setup Guide
- Stylish Media Wall Ideas: How to Mix Tech with Taste
- Does a Media Wall Need Ventilation? Everything You Need to Know
- How to Dress a Media Wall: Easy Tips for Stylish Impact
- How to Wallpaper a Media Wall: A Stylish Step-by-Step Guide
- What Fires Go in Media Walls? A Guide to the Best Electric Options
- Are Media Walls Still in Fashion? Modern Living’s Hottest Trend
- Do Media Wall Fires Actually Heat a Room? Here’s the Truth
- Can You Wallpaper Over a Media Wall? A Complete UK Guide
- Does a Media Wall Add Value to a Home? Here's the Real Answer
- Can You Tile a Media Wall? A Stylish Upgrade Worth Doing