Transform Your Chimney Breast: Create a Stunning Media Wall
Tired of that old fireplace collecting dust? Say hello to the media wall chimney breast—a stylish mix of tradition and tech. Add a sleek Media Wall Fire, mount your TV, hide those messy cables, and voilà—your living room becomes the place to be.
Short answer: it’s a smart, stylish way to upgrade your space. Read on for tips, tricks, and creative ideas to make it your own.
Why the Media Wall Chimney Breast Is Taking Over British Homes
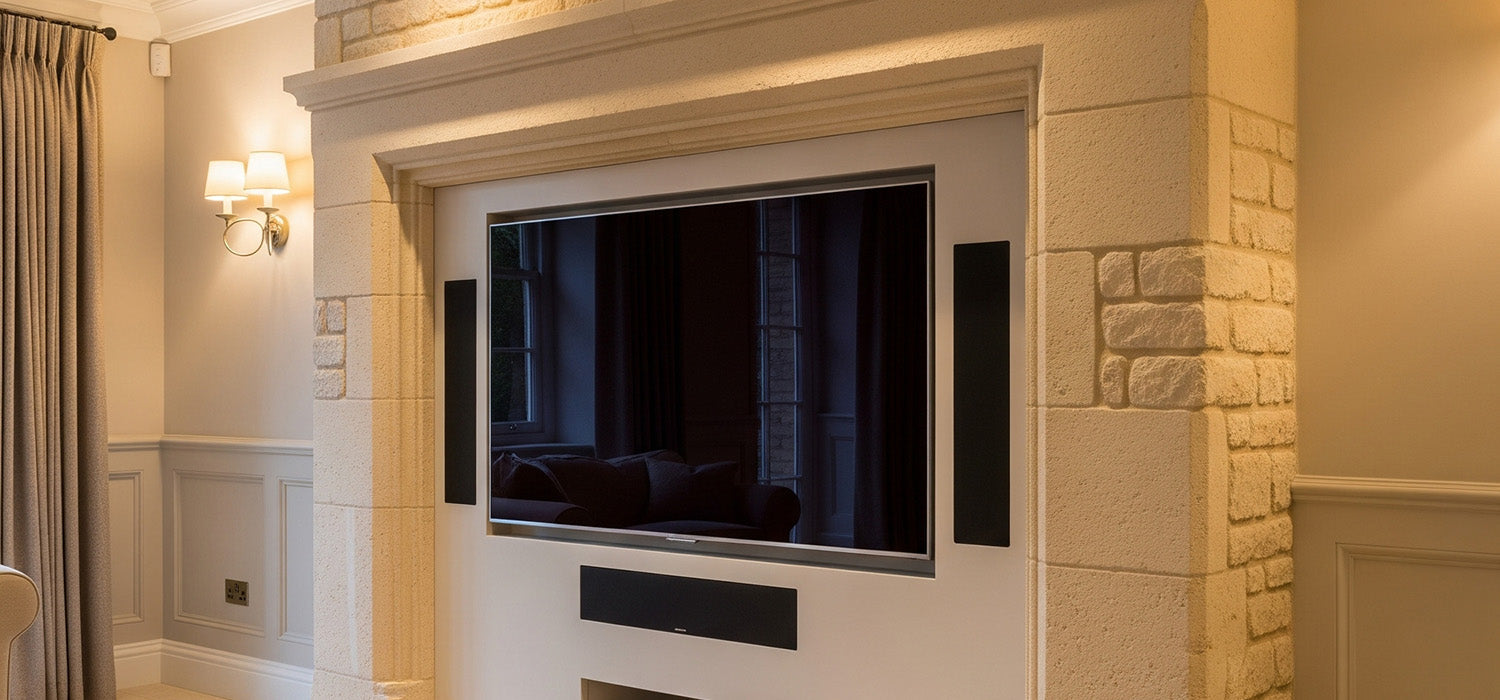
Once a spot for a crackling log fire, the traditional chimney breast is now getting a 21st-century makeover. Media walls have taken over as the new centrepiece of the home—turning dusty alcoves into sleek, functional features.
It’s not just about a big telly. It’s the combination of smart design, hidden storage, ambient lighting, and that all-important Media Wall Fire.
If you’ve ever wrestled with cable clutter or tried to squeeze a TV into a tricky corner, you’ll know exactly why this setup makes sense.
Measuring Up: Get the Basics Right Before You Start
Before you start knocking holes or buying plasterboard, take a moment. Grab a tape measure and plan.
Think about your viewing height. You’ll want the centre of your TV roughly 100–110cm from the floor if you’re seated. If you’re adding an electric fire, factor that in too—aim to leave at least 10–15cm of space around it for ventilation.
Measure the full width and depth of your chimney breast. This gives you a clear idea of how wide to build the stud wall, especially if you’re recessing both a TV and a fire.
Choosing the Right Materials
You don’t need a degree in construction to build a media wall—but picking solid materials makes a big difference.
Timber stud work is your base. Keep it square, level, and secure. Use plasterboard (standard or fire-rated) to cover it. Then finish with skim plaster for that smooth, ready-to-paint surface.
Want something with texture or flair? Consider MDF slatted panels or stone-effect tiles. They give your wall more character and work beautifully with warm lighting.
Essential Tools for the Job
You’ll need more than just a hammer. A decent spirit level, saw, and power drill are non-negotiable.
A stud detector will save you from drilling into unexpected wires. And don’t forget cable conduit—you’ll thank yourself later when you’re not staring at a tangle of HDMI leads.
This is the stage where you set up power sockets and any data connections. Plan ahead: once the plasterboard’s up, it’s harder to change your mind.
Building the Framework: A Step-by-Step Guide
Right—now the fun begins. Start by building the timber (or metal) frame directly onto your existing chimney breast or surrounding walls. Secure everything firmly and double-check it’s level.
Next, create your recesses. These are the cut-outs where your TV and Media Wall Fire will sit. Measure twice, cut once—and dry-fit the units to ensure a snug fit.
Run all your cables through now, using trunking to keep things tidy and safe. Leave extra slack—you never know when you’ll upgrade your kit.
Once all that’s in place, it’s time to board it up. Attach your plasterboard, fill and tape the joints, and get it ready for plastering.
The Power of Lighting
Lighting can take a media wall from “looks nice” to “wow”.
Install LED strips inside alcoves or behind your TV to create a warm backlight. Recessed downlights or angled spotlights can also highlight texture, especially if you’ve added a feature panel.
You might even go one step further—add smart lighting you can control with your phone or remote. Create a cinema mood at the touch of a button. It’s a game changer.
Style Ideas That Actually Work
A media wall doesn’t have to be flashy to be beautiful. Some of the best designs are simple, with soft, neutral paint, clean lines, and one or two personal touches.
Try this: flank your chimney breast with open shelves. Use them for books, a speaker, or that plant you’ve managed not to kill.
Or go bold—use textured wallpaper behind the TV or mount LED-lit floating shelves. Mixing wood, paint, and lighting adds depth and warmth.
Want a modern fireplace vibe? Recess an electric fire below the TV. The effect is stunning, especially in the colder months. It’s like your old fireplace got a glow-up.
Storage, Sorted
One big reason people love media walls? Hidden storage.
Fit soft-close cabinets into the lower part of your chimney breast to store remotes, routers, or game consoles. Use floating shelves for photo frames or vases—things that add life without cluttering.
No visible wires. No bulky furniture. Just clean, functional design that still feels like home.
What Will It Cost?
If you're doing the job yourself, expect to spend around £400–£800 on materials, depending on finishes and lighting. That doesn’t include the cost of the TV or electric fire.
Hiring a professional? Budget between £1,500 and £3,000, depending on complexity and location.
Tip: even if you're DIY-ing, you might want to bring in a qualified electrician for wiring and sockets. It's worth the peace of mind.
Common Mistakes to Avoid
Skipping the planning stage is the top mistake. Measure everything. Then measure again.
Don’t forget ventilation—especially around electric fires and entertainment units. Heat build-up can shorten the life of your equipment.
And please, don’t plaster everything shut before you’ve tested your wiring. A few extra minutes now saves a lot of swearing later.
Final Thought
A media wall chimney breast with a Media Wall Fire is more than just a stylish upgrade. It’s a smart, practical way to modernise your home.
Whether you want cosy movie nights, a cleaner living room, or just something that makes guests say “ooh”, this setup delivers. Add some shelves, some light, a bit of personality—and you’ll have a space that feels both designed and lived in.
Start small, plan well, and go at your own pace. That sad old chimney? It’s about to become your favourite wall in the house.
Other content we think you'll love
- Can a Media Wall Fire Really Heat a Room? The Cosy Truth
- Bioethanol vs Electric Fires: Which Fireplace Fits Your Home?
- How to Build the Perfect Media Wall Around Your Fireplace
- How to Build a Media Wall Around a Chimney Breast
- How to Build a Stylish Media Wall Around a Log Burner
- Bioethanol vs Electric: Which Media Wall Fire Is Best for You?